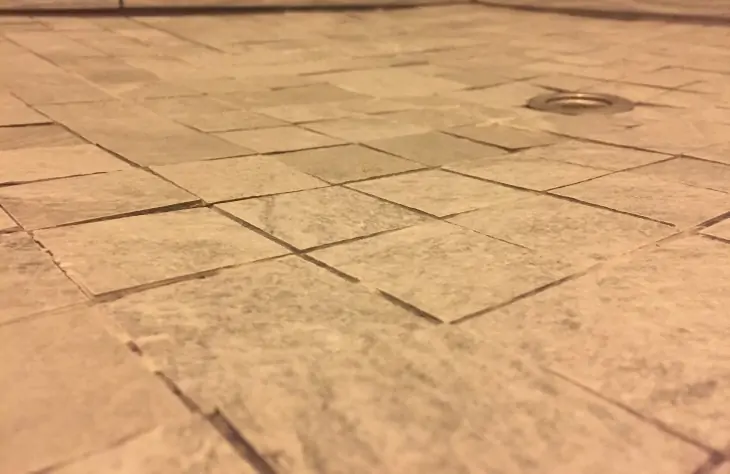
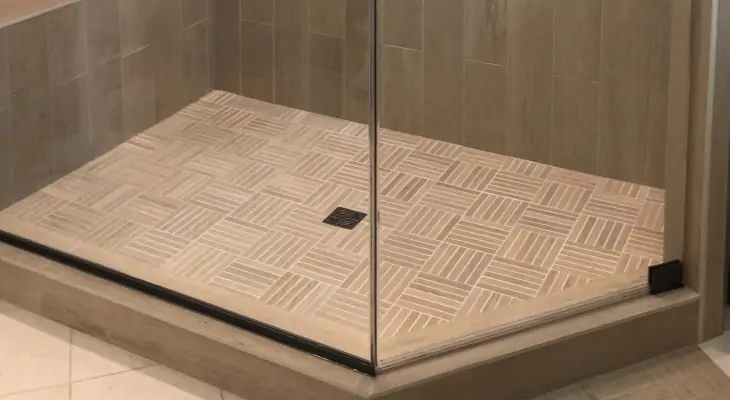
No one wants to shower while standing on a slope! A sloped shower floor as a result of an uneven shower pan can be frustrating, unsightly, and dangerous!
An uneven shower pan creates an uneven shower floor. This leads to dead spots that collect pools of water that will not drain.
The best solution to the uneven shower pan problem is to tear out the entire shower and start over. If that is not feasible, it may be possible to reslope the floor of your shower. Remove the floor tiles, apply thin-set to reslope the floor, then replace the floor tiles.
Table of Contents
What are the Issues with an Uneven Shower Pan?

So, what’s the problem with an uneven shower pan, anyway? The shower pan determines the slope of your shower floor. An uneven shower floor will create several problems, including:
- Improper drainage.
- Dead spots where water pools.
- Mold, fungal, and bacterial growth due to pooled water on the shower floor.
- Potential slipping and safety hazards due to slippery mold, or an uneven floor.
Do I Have to Start Over?
The conventional solution to a shower that is not level is to tear the whole thing out and start over. However, this is not welcome news to homeowners! A shower remodel can cost thousands of dollars. Rip it all out and buy new materials? No, thanks!
The advantage to starting over on the shower pan install is that you can observe the work from start to finish and make sure that it is installed properly. Obviously, starting over is also expensive and time-consuming.
What is the Solution to an Uneven Shower Pan?

There is a solution that does not involve tearing out the entire shower! There is some demolition work involved, however. Here are step-by-step instructions to create a level shower floor.
This solution involves removing the shower floor, then resloping the floor above the shower pan to create a level surface. This method will save time and money! You also will be able to leave the waterproofing layer of the shower installment intact during this process.
This method is not a 100% guaranteed solution! However, it is worth a try before you rip out the entire shower. If this is not a process that you want to try yourself, find a bathroom and tile technician who is willing to give it a try.
Take up the Shower Floor
Here’s where your hammer and crowbar come in handy! Tear up all the previously laid flooring in the shower. If you want to reuse the tile, be gentle in your demolition! You may want to have a few extra tiles on hand, in case one breaks.
Apply Thinset
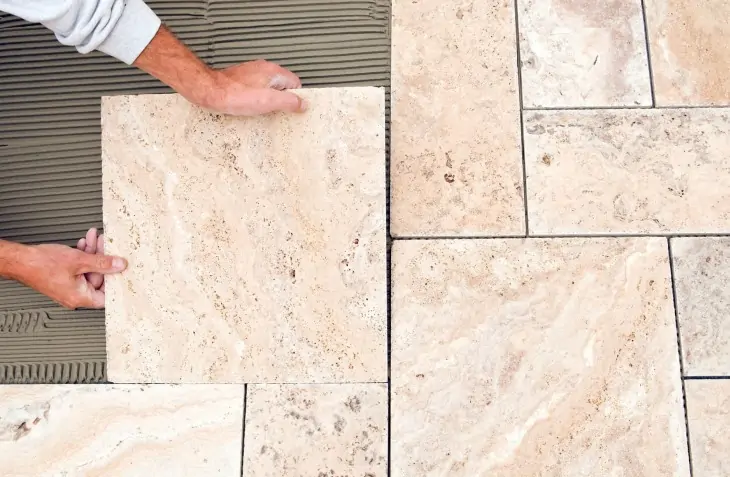
Thinset is an adhesive concrete mixture that is generally used to attach tiles in place on walls and floors. You will want to use a dense thin-set mixture like this for this project since you are resloping the floor.
This is the tricky part! Check the level of the shower floor regularly as you work! Some areas will need to be built up more in order to make the floor level.
Reinstall Floor Tiles

Once the floor is level, reinstall the floor tiles and install new grout. Once the thin-set and grout are cured, do an overnight flood test to make sure everything is water-tight.
What if I Leave the Floor Uneven?
If you don’t have the time or resources to devote to a lengthy repair, the short-term solution is as simple as a squeegee! Purchase a telescopic squeegee. After every shower, squeegee all the water into the drain. It is important to be vigilant with this process so you don’t have mold or bacterial growth in your shower!
Of course, you will eventually want to repair the shower so that the floor is level. The squeegee method is a temporary fix.
Final Thoughts
Don’t slip and slide on your shower floor any longer! If you are not able to tear out your shower and start over, try resloping the floor of the shower with this three-step method. Hopefully, you’ll be standing on level ground again!

