
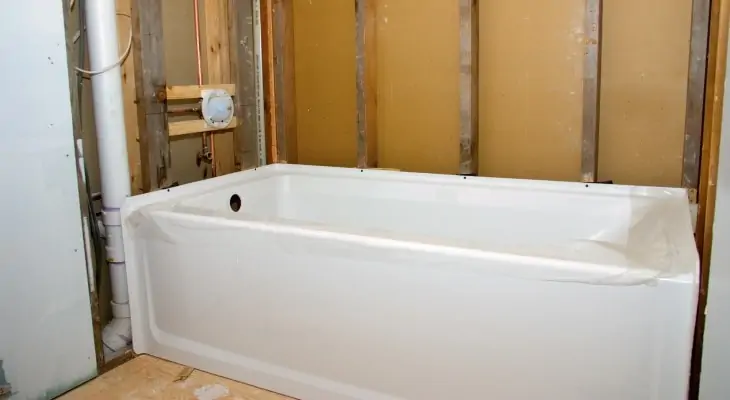
You get into your bathtub and it feels like it is moving underneath you! That unsupported feeling is your bathtub flexing. Any area that gives under pressure or feels squishy is a flex. Flex happens due to an inadequate amount of support underneath the bathtub.
A little bit of flex is acceptable. However, too much flex and you risk damage to the bathtub. A leaky bathtub can become a big problem real fast!
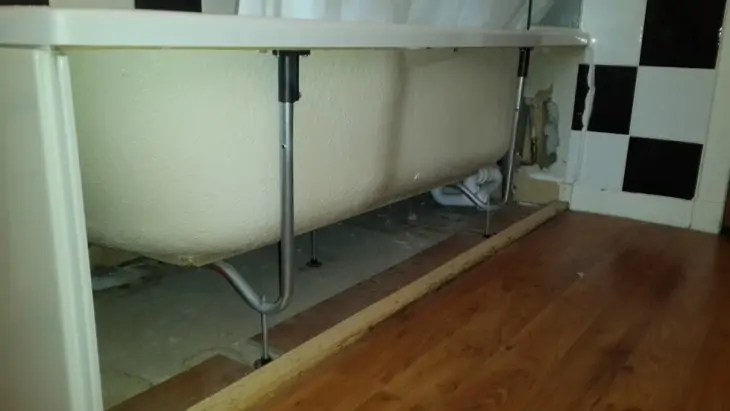
A flexing bathtub indicates that there are voids underneath the tub where it is not supported adequately. To fix these areas, you need to either reinstall the bathtub or use a material to fill the gaps and support the weight of the tub. Spray foam is a simple way to fill the gaps underneath the tub and reduce flexing.
Table of Contents
How Can I Fix Bathtub Flexing?
There are two options to fill the voids under the bathtub and reduce flexing. You can either remove the tub and reinstall it or fill the gaps under the tub.
Reinstall the Tub
This is a big job! Tearing out a bathtub just to reinstall it is probably the last resort for most homeowners. Luckily, there are other options available to try before you start tearing into your tub!
Fill in the Gaps with Mortar
There are a number of different ways to fill in the gaps under the tub to reduce flexing. Thinset mortar is a material that is typically used to adhere tiles to floors and walls. It can be poured into openings around the tub. Once it sets, it will harden and support the weight of the bathtub.
Pros
Thinset mortar is readily available at just about any hardware or home store. It is inexpensive and easy to mix and pour.
Cons
Once that thin-set mortar hardens though, it is very hard and inflexible. It is also designed to bond upon contact. If you make a mistake or need to remove the tub down the road, it will be almost impossible to remove the mortar without damaging the tub and the surrounding areas.
Fill in the Gaps with Plaster of Paris
When I think of Plaster of Paris, I usually think of school crafts. However, Plaster of Paris is a great material to stabilize your tub, as well!
Pros
Plaster of Paris is very easy to find, and inexpensive to purchase. It forms into a clay-like texture and is easy to form and manipulate.
Cons
Unfortunately, Plaster of Paris is also very messy! Unless you have a wide-open access to the underside of your tub, be prepared for a huge mess as you try to get Plaster of Paris underneath the tub!
Fill in the Gaps with Grout
Grout is usually used to fill in the spaces between tiles. There are four basic types of grout. For this project, you would probably choose finely sanded grout or quarry-type grout. Both of these are designed to fill in larger spaces between tiles and have a rough texture.
Pros
The grout can be expressed into small openings around the bathtub. Once it sets, it will not expand or shrink.
Cons
You may need a lot of grout, depending on how many hollow spaces are underneath your tub. All that grout can add up to a lot of money! Grout is one of the more expensive filling options on this list.
Fill in the Gaps with Spray Foam
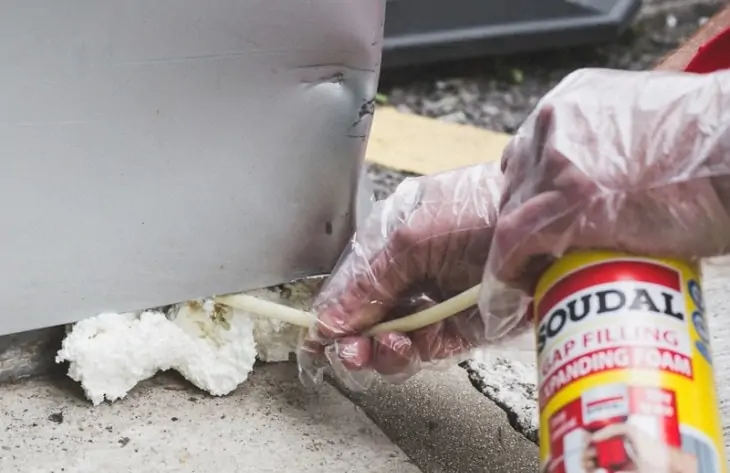
Spray foam, made from polyurethane, is often used to fill in gaps. It is normally used to seal and insulate.
Pros
Spray foam is inexpensive and available at hardware stores and most big box stores. It can be applied with a nozzle or a dispensing gun. Some varieties are also water-resistant.
Cons
Spray foam expands a lot upon application. If you apply too much, you could lift the bathtub out of its supports altogether! The foam is removable if you need to access around the tub, but removing the foam is not exactly an easy task.
How Can I Fix Bathtub Flex with Spray Foam?
- Find the flexing areas – Feel around the tub to find the areas with the most flex. Mark these with waterproof tape.
- Fill the bathtub with water –This will create weight on the foam as it is being applied. The weight of the water should prevent the expanding foam from dislodging your bathtub!
- Drill openings near the marked spaces – Find areas surrounding the tub that are near the marked spaces. Drill a small opening.
- Apply the foam – I recommend this Great Stuff Window and Door Sealant. This is a low expanding foam that can be applied with a foam dispensing gun. Slowly dispense the foam into the hole. Stop when you can see the foam in the opening. Wipe away any foam around the opening.
- Allow the foam to dry – The foam should be dry in 8-24 hours.
- Finish the opening – Use a filler to repair the opening, sand it smooth, then finish the opening as desired.
Final Thoughts
Don’t worry about damage to your bathtub due to flexing! Use spray foam to fill in voids and support your bathtub.