

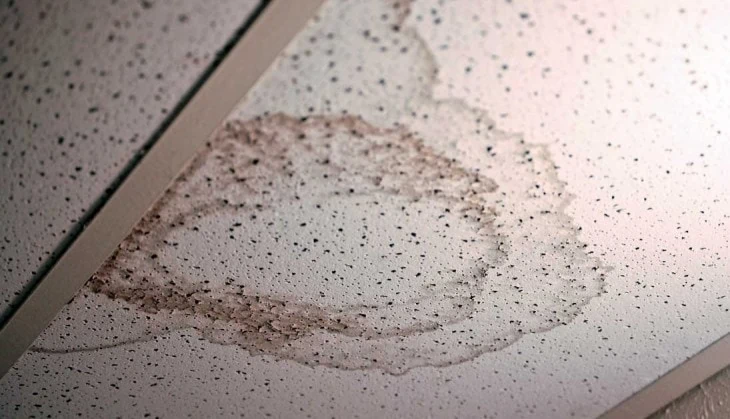
Mold growth on ceiling tiles not only makes for an unsightly scene but can also lead to the development of various health problems.
You should always prioritize dealing with mold when you encounter it in your home. Otherwise, the problem will grow worse over time and can lead to some costly repairs.
Moisture is the main cause of mold on ceiling tiles. Damp spots can indicate problems with your plumbing, HVAC, or other systems that use water. Use a strong cleaning agent like bleach to wipe off any affected surfaces that can still be salvaged and be prepared to replace the rest. Always wear facial protection to avoid inhaling mold spores.
Table of Contents
What Causes Mold on Ceiling Tiles?
For mold to develop, a number of conditions must be present. It requires a combination of high humidity, poor airflow, and sufficiently high temperatures.
Leaks
Leaks are a common factor in the development of mold. If you see moldy spots growing in the corner of a room that normally doesn’t get particularly wet during the day, this could indicate a leak above the ceiling or in the walls.
Plumbing isn’t the only possible culprit when you have a leak. Roofing problems are another common cause. If you have an HVAC system in your home, it should also be investigated.
High Humidity
There’s a reason black mold on ceiling tiles develops particularly often in bathrooms. High humidity, especially when combined with poor airflow, can promote mold growth.
Mold also prefers warmer temperatures, and steaming up the bathroom after a hot shower can make it a very attractive environment for unwanted growths.
Poor Air Circulation
Mold can still develop in areas with relatively low humidity. If the air circulation is poor enough, even small levels of moisture can be enough to attract mold. If water has no place to evaporate, it will remain in the air and build up on soft surfaces over time.
Dealing with Mold on Ceiling Tiles
Mold on drop ceiling tiles should be dealt with immediately. Otherwise, there’s a risk that it will spread and become an even bigger health hazard.
Use an Aggressive Cleaning Agent
You must attack the mold with some strong mold removal solution, bleach or something equally strong. I use this contractor-grade mold removal solution. Use a hard brush and scrub as hard as you can without damaging the surface. Make sure to clean each tile completely.
If your drop ceiling allows you to take out the tiles easily, then you can clean both sides of each tile. The top will likely be affected worse than the bottom.
Wear Facial Protection
Inhaling mold spores can be dangerous. Always wear a respirator (I use this one) when scrubbing affected areas, as there’s no way to avoid disturbing spores and sending them flying all over the place.
A pair of goggles will additionally protect your eyes from coming in contact with the cleaning agent you’re using.
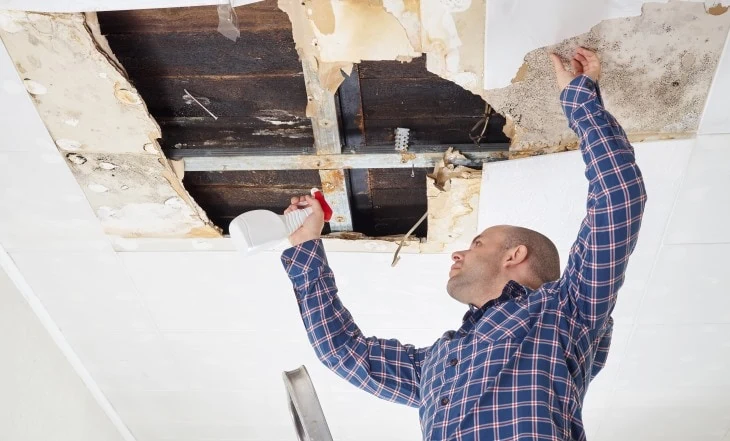
Remove Materials That Have Been Affected Too Heavily
If mold has been growing for a while, some tiles might be too far gone to be salvaged. Some porous materials are practically impossible to cleanse once they’ve had mold growing on them for any length of time.
Be prepared to throw away any tiles, boards, and other materials that can’t be saved.
Air Out the Room When You’re Done
Once you’re finished, make sure to air out the room properly. There will be lots of mold spores flying in the air.
Open any windows and doors and use a fan to promote airflow. Give the room at least a few hours before using it again.
Things You Can Do to Prevent Future Problems
While some cases of mold growth are impossible to prevent, there are various precautions you can take to at least minimize the risk.
Address Leaks Immediately
Any leaks you discover must be addressed immediately. If the leak is already noticeable because you have water dripping from your ceiling, things are probably pretty bad behind the walls.
Dehumidify the Room

Your bathroom naturally builds up a lot of moisture through regular everyday use. Make sure to properly ventilate and dehumidify it and any other rooms where this is a problem.
If you have a separate laundry room, it’s another good candidate for this treatment. In many homes, the laundry room is located in the basement which can make things worse due to the limited ventilation.
Use Anti-Mold Paint
If you can’t avoid regular moisture on certain surfaces, you should look into anti-mold paint and mold-killing primer. Clear coatings are also available if you don’t want to change the aesthetics of the room. Make sure to follow the manufacturer’s guidelines about how often the paint should be reapplied.
Conclusion
Do your best to minimize moisture around your home, and investigate leaks as soon as you’ve spotted them. Once you’ve discovered mold growth, deal with it immediately and air out affected rooms thoroughly.