

Whether it’s a small scuff or a deep gouge, scratches on a mirror can sometimes become the only thing you notice when you look at it. Thankfully, repairing or reducing a scratch in a mirror can be done with a few common household items.
Removing scratches from a bathroom mirror (or any household mirror) can be done by buffing it out. This is achieved through the use of several slightly abrasive items such as toothpaste, baking soda, and even mustard powder!
Table of Contents
The Cloth is Important
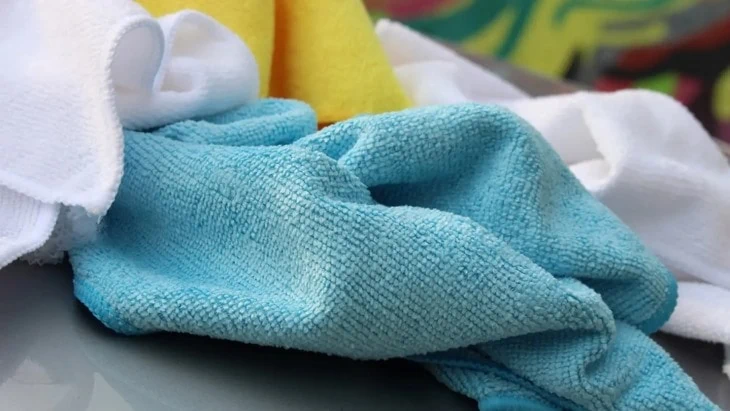
To reduce the risk of scratching your mirror any further, it is very important that you use only a microfiber cloth and not paper towels or kitchen rags. These are too rough and can end up making any scratches worse.
If you don’t have a microfiber cloth laying around, use only your finger instead. It is better than the alternatives.
How to Repair Scratched Mirrors
Using either your microfiber cloth or your finger, use any of these products to help remove superficial scratches.
Toothpaste
The goal with using toothpaste, or any type of soft abrasive, is to buff down the sides of the scratches so they aren’t noticeable anymore.
Opt for a white toothpaste with either baking soda or fluoride in it. Gel and colored toothpastes won’t be as effective.
First, clean and dry the area of the scratch well and dampen your cloth or your finger. Then place a small dollop of white toothpaste directly on the scratch. Very gently buff the scratch in a circular motion for about 30 seconds.
Afterwards, wipe away the excess toothpaste and examine the area. The scratch should be much less pronounced. You can repeat this technique as many times are you need to until you feel the scratch is buffed enough to not be noticeable.
Baking Soda
Using baking soda works in the same way that toothpaste does. It is a gentle abrasive that helps to dull the edges of the scratch and blend it in with the rest of the mirror.
Mix equal parts baking soda and water and apply it in the same way as described before, gently and in a circular motion. It should be sufficiently damp so when you notice the area getting dry, add a drop or two of water.
Repeat this as many times as you feel necessary.
Metal Polish
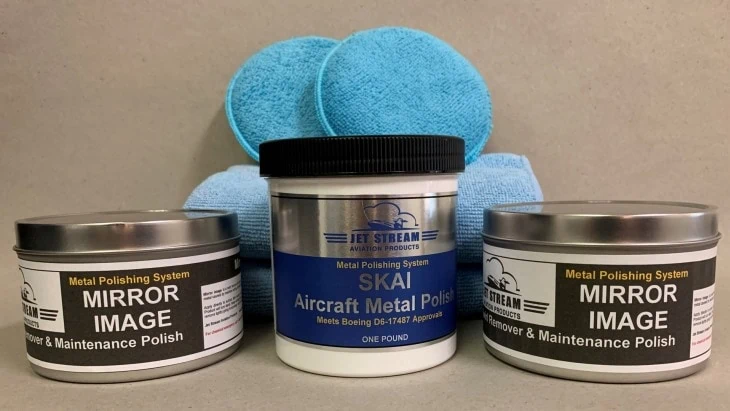
Metal polish (or jewelry polish) is a popular product that’s used for buffing out scratches on metal. Much the same way it can make a gold ring shiny and scratch-free, it can work just as well as a mirror scratch remover.
The ingredient that makes this possible is called cerium oxide and is a stronger abrasive than baking soda or toothpaste but the general principle is the same. As mentioned before, jewelers use this ingredient to polish metals and precious gems.
Clean the area well and apply a small amount of metal or jewelry polish, just make sure it contains cerium oxide. Buff gently and check the progress every 30 seconds or so.
Wipe away the excess and assess the state of the scratch, repeating up to 3 times.
How to Remove Deep Scratches from a Mirror
While superficial scratches can be easily buffed out using the previously mentioned methods, deeper scratches need a little bit more TLC.
Dry Mustard & Vinegar
A strange combination indeed! You can fill and buff out scratches using equal parts dry mustard and white vinegar mixed together to form a paste.
After mixing your solution, apply a thick layer of the paste to the scratch and allow it to sit for a few minutes to work its way into the scratch.
Then take a clean wet cloth and start buffing away the solution until the area is completely clean.
Clear Nail Polish
Using a clear nail polish to fill in a deep gouge is a great starting point before using other methods to buff down the superficial edges. It’s recommended you use a new bottle of clear nail polish so as to avoid placing any polish that is discolored into your scratch.
Clean the area thoroughly & apply a single thin layer directly over the entire length of the scratch. Allow this to dry for about 20 minutes then apply a second thin layer.
Soak a cloth in nail polish remover and slowly run it over the sides of the area to remove all of the excess polish.
Afterwards, you can buff down the remaining superficial edges using any of the methods described above just be careful – don’t rub too hard, or else you could end up removing all the polish you just used.
Liquid Pumice & an Electric Buffer
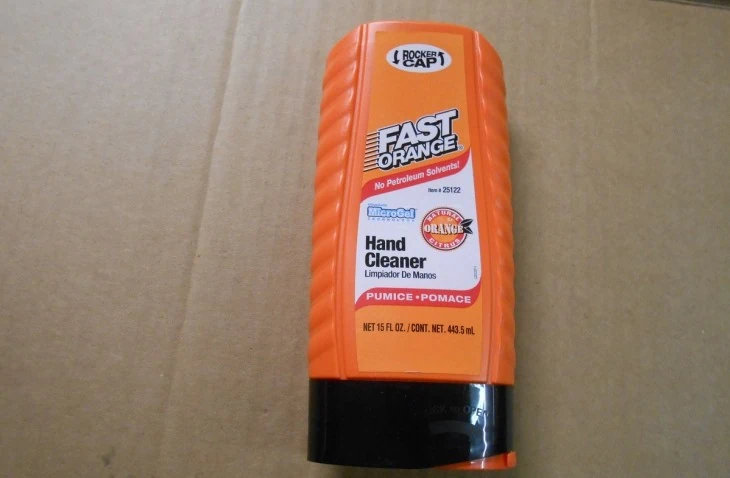
While it’s unlikely you have these items sitting around your house, purchasing them can still be significantly cheaper than paying a professional glass repair service to fix your deep scratches.
You will need an electric buffer or a Dremel with a pad fitted for polishing glass. It will specify that the pad is specifically for glass. Don’t take your chances on any other pad.
Then, you will need a hand cleaner that is made with liquid pumice, like Fast Orange with Pumice. Pumice is a naturally occurring stone made from lava rock that is an excellent buffer & it retains those same properties in liquid form.
Apply a generous amount of liquid pumice to the entire area and buff with your electric buffer. It may take some time and elbow grease, but is an extremely effective way to get those scratches out for good while also shining and polishing your mirror in the process.
Final Thoughts
While the above methods are described in the context of removing scratches from mirrors, they can be used to remove scratches from a variety of glass objects like coffee tables or reading glasses.
Even though deeper scratches may take a little bit more work and time to repair, it is still entirely possible to use these DIY methods and save yourself a good chunk of money to repair and reduce scratches and cuts in your mirrors.