
It’s a lot easier than you might think to run a gas line through an exterior wall! You’ll only have to drill one hole during the whole process to safely complete this project.
Once you have all the tools you need, drill a hole through the wall to run a copper pipe that will connect the gas tank to the appliance. Attach the pipe to the appliance and test the connection to ensure it’s functioning properly.
Table of Contents
Is It Safe to Run a Gas Line through an Exterior Wall?
It’s much safer to run a gas line through an exterior wall than an interior wall. Follow these simple steps to safely complete this project!
Take Safety Precaution
Before starting this project, check to make sure the gas line and appliance don’t have any leakage hazards.
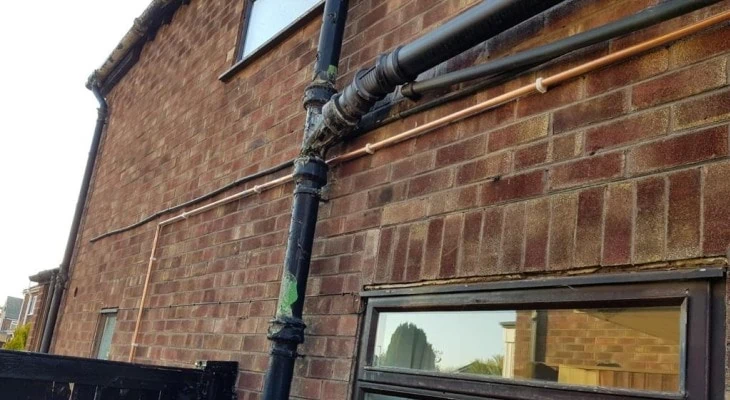
When running the copper pipe through the exterior wall, be careful not to bend it at a sharp angle. This can cause a leakage hazard and you’ll need to start again with a new copper pipe.
How to Run a Gas Line through an Exterior Wall
Get your exterior wall and gas tank approved by a gas contractor before starting this project.
Prepare the Wall
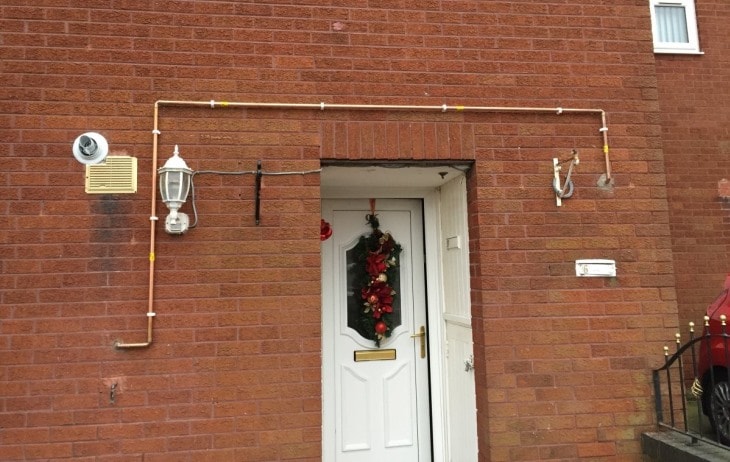
Securely attach a copper pipe to the gas tank to begin running it through the wall. You’ll need a drill to access the appliance through the exterior wall.
In order to do this, you’ll use a long drill bit that can drill through the width of the wall. You can find a drill bit of this length at most hardware stores or tool rentals.
Drill the hole near the appliance from the outside wall and get as close as you can to avoid running the gas line extensively inside.
Connect the Pipe to the Appliance
Use the hole as an entry point for the copper pipe and gently bend it through so it can reach the appliance.
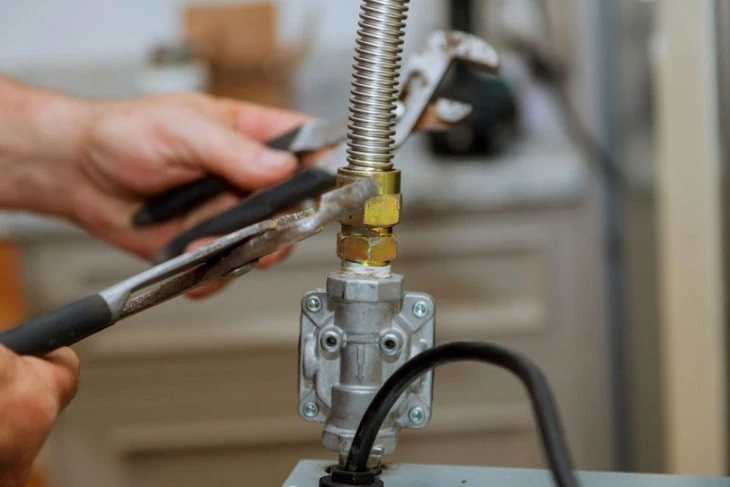
Connect the pipe to the appliance with thread sealing plumber’s tape or use a pipe flaring tool to fit the pipe onto the appliance. It’s best to check with an expert before choosing your attachment method.
How to Maintain Exterior Gas Lines
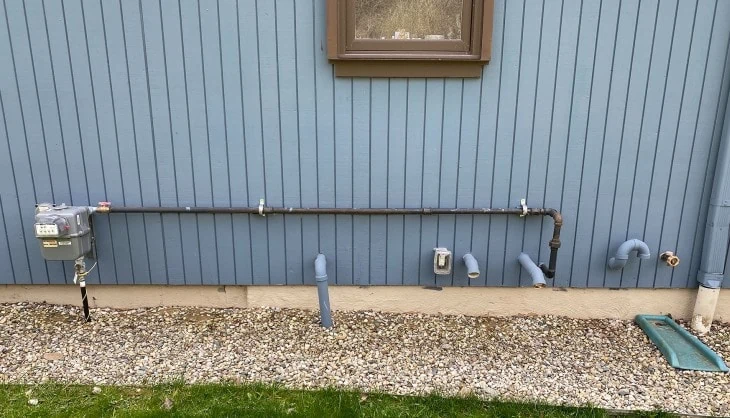
Once the gas line is properly installed, follow these steps to ensure the exterior pipe is protected against outdoor conditions.
Protect Exterior Pipes
Exterior pipes should be painted or covered to avoid damage and wear from corrosion. You can use protective enamel spray paint to fully coat the pipe.
Rust-Oleum carries a gloss enamel paint that will get the job done and prevent rust build-up. Pick which finish and color you’d like to best blend in with the rest of the house.
Apply about three coats of paint to completely coat the entire pipe. Place an old piece of cardboard behind the pipe to avoid getting paint on the exterior wall.
Cover Up the Pipe
There are faux rocks and plants that are made to cover external pipes. If you’re looking to shield the pipe from weather damage or just spruce it up for a more put-together look, consider covering the pipe to better match your yard.
Another option would be to place a small fountain or birdbath in front of the pipe or tank. This won’t protect the pipes from corrosion, but it will make them look nicer
Distract visitors from the exterior pipes with the beautiful birds that will frequent your lovely birdbath!
Final Thoughts
Running a gas line through your exterior wall is not as hard as it may seem! Do your research before attempting any of the above steps and take necessary safety precautions before starting this project.
After you complete the job, fill the rest of the space at the pipe’s entrance with foam insulation to prevent heat loss. You can buy a spray can of expanding foam insulation or use a foam sprayer to complete this step.
When looking to cover up the exterior pipes, avoid planting shrubs or small trees near the tank. Deep plant roots could disrupt the piping system and cause potential problems.
Wear protective gloves when installing gas pipes and check over all of the equipment for potential hazards before continuing. If you ever have doubts or concerns about the process, contact a professional contractor for help!