
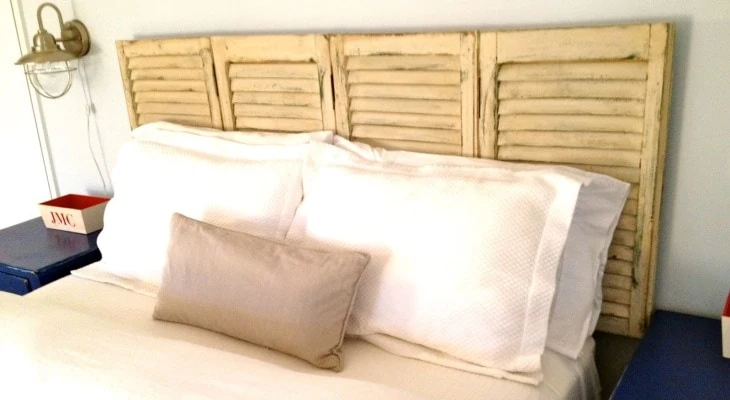
As an experienced homeowner and avid D.I.Yer, I know all too well the importance of having a functional, aesthetically pleasing bed with a headboard to match.
The bed is visually the focal point of any bedroom and if it is to command any attention, it should look accordingly. After all, we spend roughly one-third of our lives under the covers, so it’s only fair that we take the time and effort to make sure the headboard matches the bed frame.
Table of Contents
Solution #1 – Reposition the Headboard to Fit the Bed Frame
Try this method first, as it will take the least amount of time, and it is almost guaranteed to work with a headboard that is too wide. For this, you need to use mod adapter plates.
I know from bed frames and headboards I have bought that it can be annoying when they don’t quite match up. You’ve bought that beautifully designed headboard, but when you bring it home to replace the old one, it doesn’t quite fit the bed frame.
However, because of the adjustability of the mod plate, it should accommodate any height or width discrepancy between the headboard and bed frame bracket.
What Are the Tools and Hardware You’ll Need?
For this method, you will need 2 mod adapter plates, 8x ¼ inch bolts, 8 nuts, 8 washers, a socket wrench, and an adjustable wrench. Look on Amazon for whatever you don’t have already.
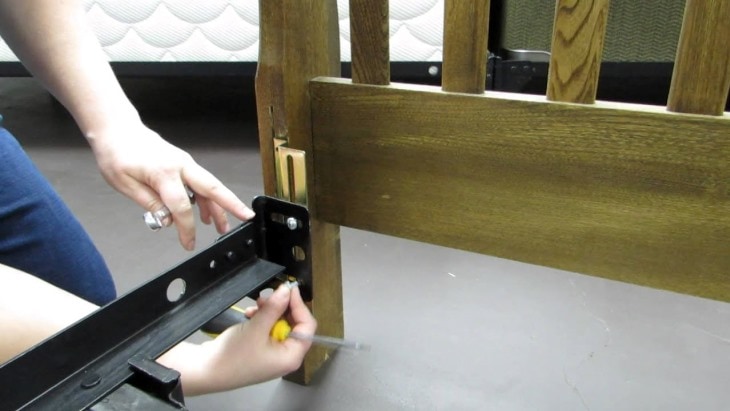
Attach the Plates to the Bed Frame Brackets, Loosely!
Take one of the mod adapter plates and hold it up against the bracket on the right side of the bed frame. Take 2 of the bolts and slide the ends through the holes in the brackets and adapter plates.
Thread the nuts and washers onto the ends of the bolts, loosely clamping the bracket and adapter plates together. Do not tighten them up completely.
Once the right side of the bed is completed, do the same process with the left side of the bed.
Where Do the Washers Go?
Sandwich the washers between the nut and the frame of the bed. This will help distribute the force once you have tightened the nuts with the socket wrench.
Attach the Headboard to the Other Side of the Mod Adapter Plates
Now, using 4 more ¼ inch bolts (2 on each side of the bed), 4 nuts, and 4 washers, attach the headboard to the other side of the adapter plate. As before, only partially tighten the nuts. Remember to attach the headboard to the adapter plate on both sides of the bed.
Make Sure You are Happy With the Position of the Headboard
Because all 8 nuts are still loose, you can still move the headboard around slightly. Move it until it’s centered and upright compared to the bed frame.
Tighten Everything Up!
Take the socket wrench and adjustable wrench and tighten all 8 nuts. Use the adjustable wrench to clamp the head of the bolt while you tighten the nut with the socket wrench.
Solution #2 – Re-drill the Mounting Holes So They Line Up

Take a cordless drill and re-drill the mounting holes so the headboard and bedframe line up. I’ve used this method many times, and it is a simple fix if the existing holes in your headboard don’t line up.
What Tools Will I Need?
Make sure you have all the necessary tools and hardware for the job. You will need a powered drill, 2x ¼ inch bolts, the corresponding size of drill bit, nuts, washers, a pencil, a socket wrench, and an adjustable wrench. Again, buy whatever you don’t have on Amazon.
Use One of the Existing Holes If You Can
See if you can use at least one of the existing mounting holes. If you can, you will only need to re-drill one hole.
If this is possible, take a bolt, nut, and washer and attach one side of the bed board to the bed frame. This time, tighten the bolt till it’s snug. Use the socket and adjustable wrenches.
Should I Plug Up the Holes I Don’t Use?
Don’t worry about filling the hole(s) you don’t use. Once the bed board is up against the bed, they will be hidden.
Measure and Mark the Other Hole
Once you’ve tightened the bolt on one side, make sure the headboard is in the correct position in relation to the bed, and prepare to measure and mark the other hole.
Take your pencil and pick a spot 1-2 inches from the far edge of the headboard. Make the mark on the same horizontal plane as the bolt you have just tightened.
Time to Drill
Take the cordless and drill bit and make a hole in the headboard where you have just marked.
Bolts, Nuts, and Washers
Make one final check that the headboard and bed frame are lined up correctly and push the bolt through the newly drilled hole and bed frame bracket.
Slide the washer on the end of the bolt and sandwich it, the headboard, and bracket together with the nut.
Finally, make sure you tighten both nuts up completely with the socket and adjustable wrenches.
Additional Tips

Orient the Bolts Correctly
When attaching the mod adapter plates to the bed frame, make sure the bolts are pointing inwards under the bed, so they don’t catch on anything once installed.
If you leave them sticking out, you could easily trip and injure yourself.
Use Lock Nuts
Make sure you buy lock nuts for this project. If you don’t, regular nuts could, in time, work themselves loose.
From my experience, this is one small detail that many homeowners overlook. In a rush to buy all the hardware, it is easy to forget, but trust me, you don’t want to run the risk of your bed falling apart one night because you used the wrong hardware.
Clean Out the Holes
When drilling the hole(s) for the bolts in method #2, make sure you clean the shavings out of the hole. Do this, and the bolts won’t get stuck when you try and push them through during assembly.
Final Thoughts
Take care to follow each of these steps, and you will have a sturdy, beautiful-looking bed and headboard, an aesthetically pleasing masterpiece that tops off the decor in your bedroom.