

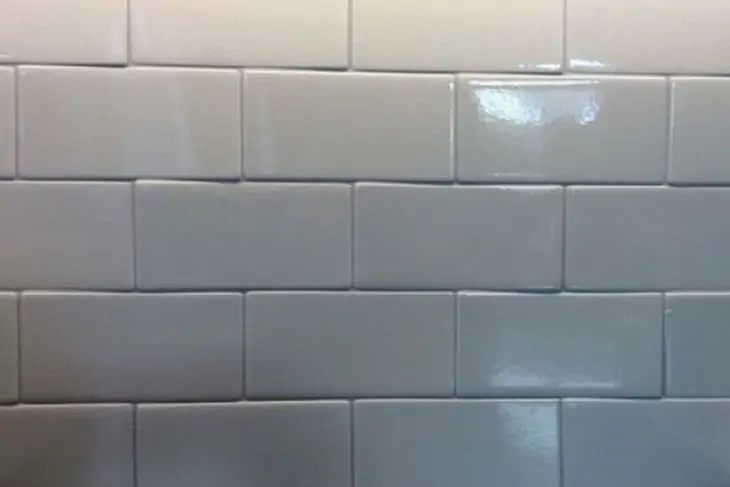
Tile lippage, a condition where the edge of one tile is noticeably higher or lower than the edge of the tile next to it, can turn a beautiful design into a complete disaster.
Therefore, the most vital part of tiling is getting it right from the very beginning. However, you can implement a few tricks if you find that your surface area is uneven.
If you’re short on time, here’s a quick summary:
To fix tile lippage that’s already there, remove uneven tiles with a chisel, and then get rid of all the unwanted residue from all of the tiny crevices. Be sure to also clean your surface and make sure the thin-set is of the right consistency. You can also use tile spacers to space them evenly.
You might wonder, how much of a vertical gap between consecutive tiles is considered enough to classify as tile lippage? The industry standard is 1/32 inches. Any more, and it’s a classic case of tile lippage.
Obviously, with more tile lippage, chances of people (or babies) with walkers tripping will increase significantly, so will the chances of the edges of uneven tiles getting damaged easily.
Lastly, uneven tiles are just bad to look at and can ruin the aesthetics of your otherwise perfect-looking home.
Factors that Cause Uneven Tile Edges
Novice tillers can usually experience tile lippage as they don’t have much experience. Several issues can arise when tilling, and inexperienced DIYers typically don’t know what can go wrong or how you can fix these problems.
Once you know what your problem is, you can rectify it. Here is a list of some of the issues that can cause tile lippage:
Uneven Surfaces
Uneven surfaces (we’ve covered mud beds before) are one of the leading causes of tile lippage and can cause severe problems for even the most seasoned tillers.
Cheap Tiles
Everyone has a budget when they are renovating, but cutting your costs when buying tiles can be a big mistake. Poorly made tiles can vary in size and won’t line up perfectly.
I found that porcelain, granite, or marble tiles are the most symmetric, and deliver a beautiful finish.
Thin Grout Joints
By not leaving enough space between your tiles (grout joints), you run the risk of uneven tiles. Grout joints exist because nothing in life is perfect, and your tiles might not all be precisely the same size.
Having a little more space to work with between your tiles gives you that extra gap to adjust any mismatched tiles.
Opt for Beautiful but Simple Tiles
Tiles with complex or busy patterns are harder to line up which makes them susceptible to tile lippage.
Fixing Tile Lippage

One of the best pieces of advice I can give you is to follow your tiles, not the surface. Most surfaces, especially in older buildings, are uneven, and by following your tiles, you can adjust the amount of thin-set used to level out your tiles.
Most tillers only notice their tiles are uneven once most or all of the tiles have been laid. Although this will require extra work to fix, you can use techniques to correct the tile lippage.
Sort the Good from the Bad
Carefully sort the good tiles from the bad by using masking tape to cover the even tiles for protection.
Remove the Uneven Tiles
To remove the unappealing tiles, you will need a chisel and hammer. First, carefully chisel the grouting surrounding the tile, using your hammer until it loosens.
Lift the Tile
Take your chisel and gently slide it underneath the tile. Use extreme caution when lifting the tile so as not to crack or break it.
Clean Your Tile
Remove any remaining thin-set with your chisel. Be very careful because if you apply too much pressure, the tile can break. Also, you need to be meticulous to ensure all the tiny crevices are cleared of any residue.
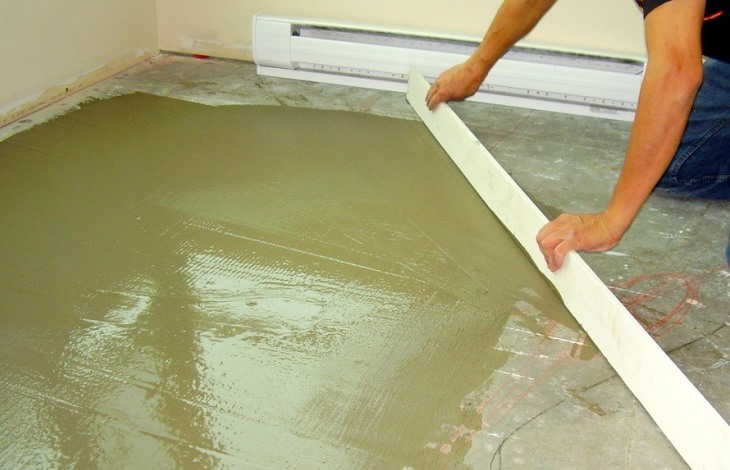
Clean Your Surface
To have an even working space, clean the surface area after removing your tile. You can use a chisel, but be careful not to damage any surrounding tiles.
Correct Your Mixture
When mixing thin-set, slowly add small amounts of water until your mixture is of the right consistency. You are looking for a thickness that roughly matches mashed potatoes.
Place Your Tiles
Using a tool with a flat, pointy blade, spread an even layer of thin-set on the bottom of your tile. I prefer using a trowel (I use this one) as it spreads the mixture well. If you have ample working space, you can spread the mixture on the surface as well.
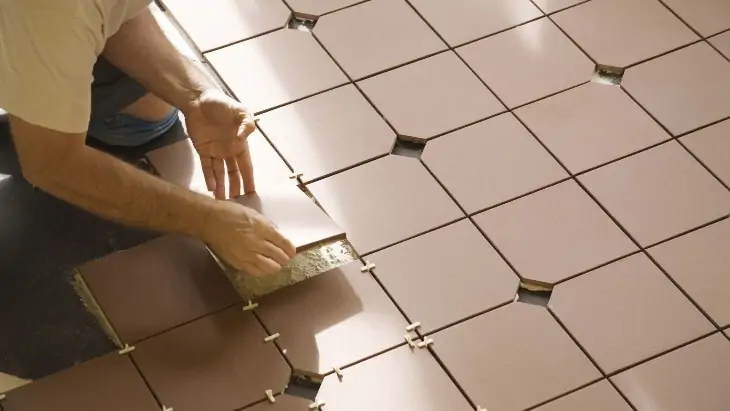
Leveling Your Tiles
To ensure your tiles are level, start by placing them into position and use tile spacers, screws, or pieces of cardboard to space the tiles evenly. If you notice that your tiles are still not level, remove them and add or remove some of the mixture until it evens out with the other tiles.
Let Your Tiles Set
Once you are happy with your tilling job, leave your tiles to set for approximately 24 hours. After your tiles have been set, you can apply the grouting.
My favorite tool to use when spreading the grouting is a grout float, resulting in a uniform finish. Then, using a damp sponge, wipe away any remaining grout and leave to dry for up to three days.
Extra Tips
If you feel like your walls or floors are really uneven and will affect the final result of your project, you might need to hire a professional to level your surfaces before you start tilling.
Cheaper tiles often vary in size, so if you have a few duds, place them on the edges of your surface as they are easier to hide with trim, or removal of these tiles will be easier so they can be re-cut and reapplied.
Doorways are usually the highest point in your room, so if you are tilling a floor, your door would be the best starting point.
For a cleaner break, score your tiles before you place them. If you are hesitant about this process, check out the video below.
Lastly, always buy some extra materials unless you’re on an extremely tight budget. There is always a chance that a few tiles will crack or break. Not only will you need extra tiles, but there is also a possibility you will need more thin-set to level out your tiles.
The End Result
Tilling can be a mammoth task for even the most seasoned tillers. In addition, uneven surfaces or bad quality tiles can lead to tile lippage, which can be a nightmare to correct.
However, there are some tricks you can implement to ensure you will have an excellent outcome or to correct an unappealing result.
Mix your thin-set well for an even application. Thin-set can be your best friend if you have an uneven surface, and you can use less or more to match your tiles up perfectly. Always follow your tiles, never your surface.
By following this simple guide, you can achieve a fantastic end result and be confident enough to practice your newfound skills on your next project.