
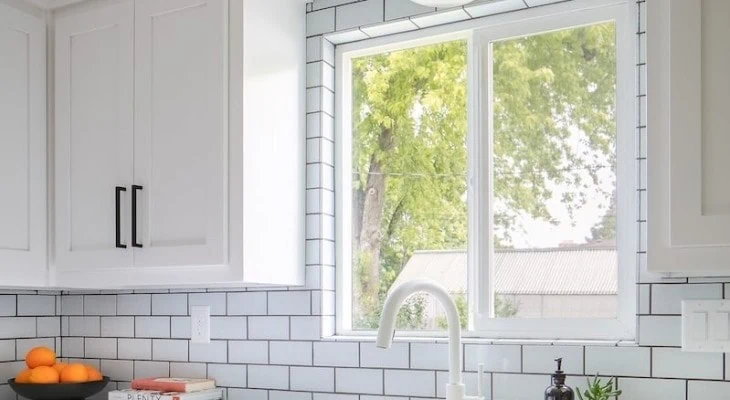
Tiling around a window without a trim is not as complicated as it might initially seem. Even though a trim can make it easy to define the edge of the window and hide any unsightly cuts on the tiles, it’s not mandatory to have one to achieve a good look.
Tiling around a window without a trim should be done with thicker tiles. Using a wet saw is a good idea for keeping sharp edges to a minimum. You should consider adding a ledge around the bottom end of the window once you’re done. This will help you get more utility out of your window, especially with deeper windows that could provide a lot of storage space around the window sill.
Table of Contents
Benefits of Not Using a Trim on Your Window
Depending on the size of your window and the overall dimensions of the room, a trim can sometimes contribute negatively to the room’s appeal. This can be easily seen with a smaller window. A trim can make it look bulky, especially if the surrounding walls are painted in a darker color.
Trims can also clash with some interior styles. If you’re going for a minimalistic look, tiling around your windows without a trim can contribute to the style you’re trying to achieve.
Tile Choice is More Important When You Have No Trim
You should choose your tiles carefully if you’re planning to go without a trim. Thicker tiles usually work better around trimless windows, as they allow you to compensate for some of the missing edges.
Porcelain is a classic choice for tiling around a window with no trim, but it’s not the only option. Most materials can work well if the tile is thick enough. Choosing a lighter color is also a good idea. This will help reduce any visual clash between the window and the walls around it.
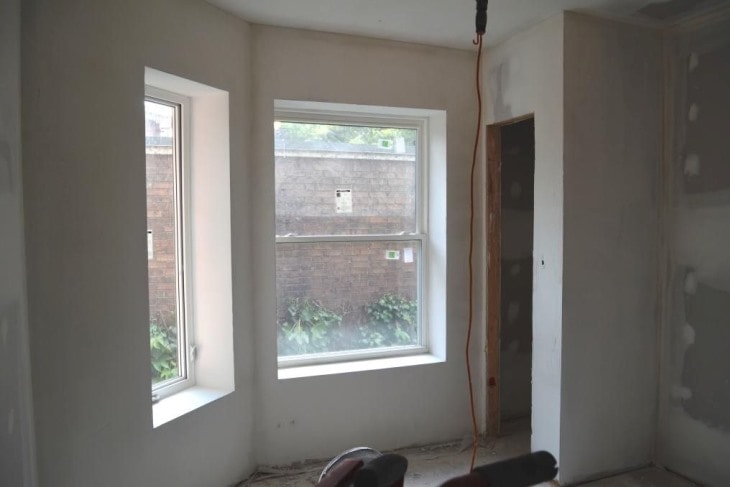
Preparing Your Window for Tiling
Going without a trim means it’s more important to give your window some extra protection to improve its durability. Using a quality primer is a must. Make sure to properly sand down the area around the window so you can apply your primer as thoroughly as possible.
Protective tape isn’t really necessary, as you’ll be able to clean any residue once you’re done installing the tiles.
Tips for Cutting Your Tiles
A wet cutter is recommended as it leaves a smoother cut that doesn’t require much finishing work. If that’s not an option, you might have to sand down your tiles to smooth out their edges.
If you don’t do that, you’ll be left with unsightly sharp edges that could also make the window dangerous to use. Those edges would normally be concealed under the trim, which is why you need to put extra effort into getting rid of them.
Ideally, you should keep the layer of tiles immediately surrounding the window for last. This will allow you to measure your cuts correctly and will help you avoid wasting any tiles due to improper measurements.
Keeping Everything Smooth and Even

Tiling is a difficult job when you’re doing it for the first time. For most people, getting everything as even as possible is the biggest challenge.
Using a wooden bar can help you identify any bumps along the tiled surface. It’s a good idea to check before and after tiling. This will help you ensure that you’re laying your tiles on an even surface to begin with, and will help identify any problems caused by your own work afterward.
To keep things simple, you should horizontally align your tiles with the center of the window. To do this:
- Measure and mark the middle point of the window’s bottom edge
- Take one tile and measure its horizontal middle point
- Place the tile underneath the window. This will be your “guiding tile”, around which you’ll align all the others.
You should start by laying a row of tiles just beneath the window, centered around the one you started with. Once you have the first row down, you can start laying vertical columns around the window’s edges.
Once you’ve laid down those initial side “columns”, you’ll be left with a gap on each side of the window. You will need to cut your next tiles to fit them in this gap.
Before you do that, however, take a level tool and lay it on the top of the tile columns you just created. This will help you verify that you’ve kept both sides even.
You must always do this before proceeding to cut your inner tiles. Otherwise, even the smallest unevenness can make it impossible to properly cut and fit tiles around the window.
Small differences from one side to another can also lead to many incorrect cuts until you get the size right. This will waste lots of tiles.
Should You Add a Ledge Along the Bottom Side of the Window?
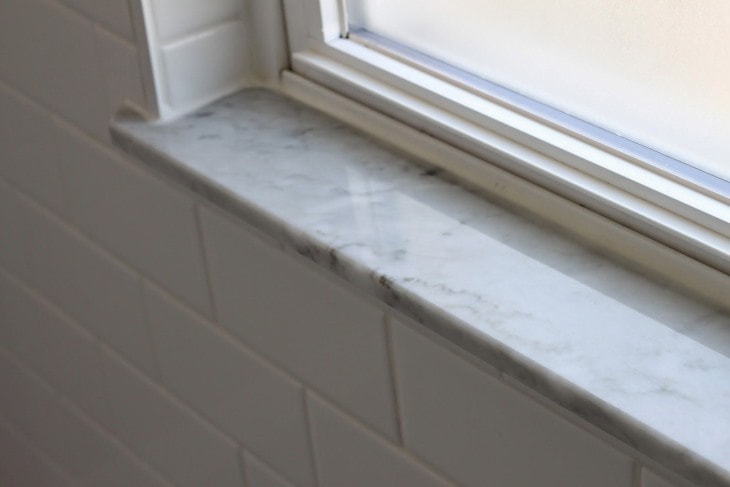
Just because you’re keeping your window without a trim doesn’t mean you shouldn’t install a ledge either. A solid ledge made out of thick wood or stone can complement a trimless window nicely.
It can also make the window more useful. Normally, leaving a window without a trim might make it unsuitable for storing items due to the slight slope along the bottom edge. A ledge can help you even things out without compromising the look you’re going for.
If you decide to go with a ledge, it should be added after you’re done with the tiles. You must cut and align your ledge to fit it between your newly tiled walls as closely as possible.
If you’re tiling the inside walls around the window, you must account for the thickness of the tiles themselves too. Otherwise, it’s easy to be stuck with a window that won’t open fully!
Final Thoughts
Many people prefer using a trim around their windows, especially when covering the surrounding walls with tiles. This isn’t always necessary though, and a trimless design can look great when it’s executed correctly. It does take a bit more effort and patience, but the final result is well worth it.